Migrating Your QuickBooks Data
A step-by-step checklist for importing QuickBooks data into Seayora and confirming it landed correctly.
A clean migration is a reviewed migration. Follow this checklist to bring your data over with confidence.
Before you start
- Export a backup of your QuickBooks data.
- Note your trial balance as of a specific date.
- Decide on your accounting basis and chart-of-accounts structure.
Run the import, then verify
- Connect and import through the QuickBooks integration.
- Compare Seayora’s trial balance to QuickBooks for the same date.
- Spot-check customers, vendors, and open invoices for correct balances.
- Look for and merge any duplicates.
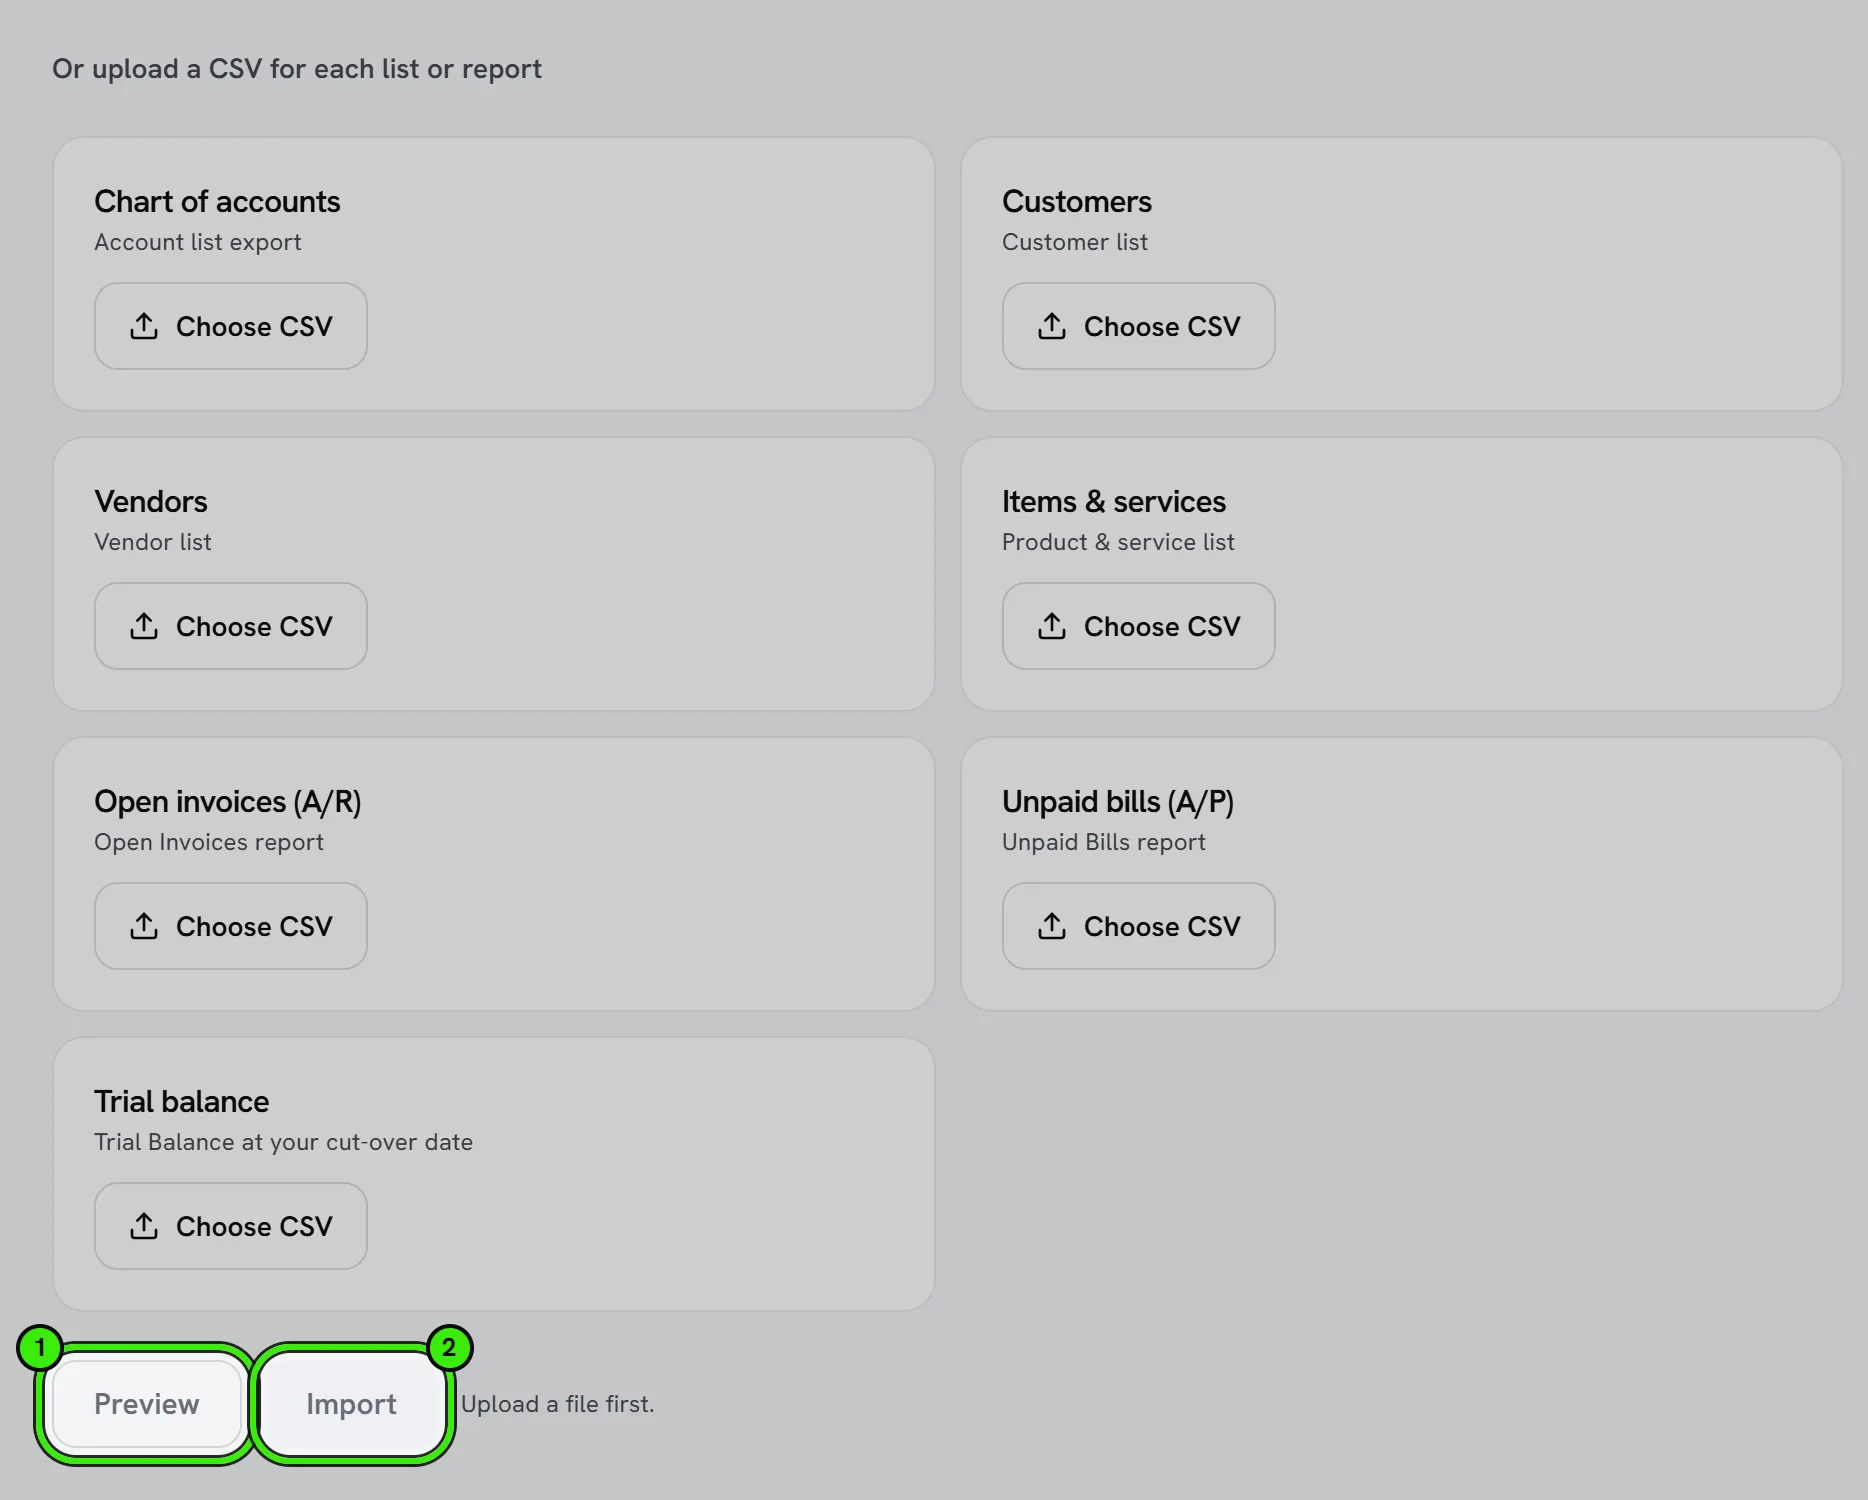
Treat the first import as a draft to reconcile, not finished books. Keep your backup until everything checks out.
If something looks wrong after import
Most issues trace back to a mapping mismatch — an account, customer, or item that existed under a slightly different name in each system. Fix the mapping and re-sync rather than manually re-entering data, and reach out to support if a discrepancy doesn’t resolve.
Frequently asked questions
How long does a QuickBooks migration take?
It depends on the size of your data — a small business might see it complete in minutes, while a large, years-long history takes longer. Larger migrations may benefit from assisted support.
Can I migrate more than once?
Yes — you can re-sync or re-import as needed, though it’s best to resolve duplicates from an earlier attempt before running another import over the same data.
Do I need to stop using QuickBooks during the migration?
No — migrating is a read operation from QuickBooks’s perspective, so you can keep working in QuickBooks while the import runs, though avoid making major structural changes (like renaming accounts) mid-migration.
Related guides
Related features and guides
- QuickBooks Online Integration — Documentation. How to connect QuickBooks Online, what data syncs, and how to verify results — with Seayora’s non-affiliation with Intuit made clear.
- Accounting Suite Overview — Documentation. A tour of Seayora’s accounting and bookkeeping tools — invoicing, bills, ledger, bank feeds, reports, automations, and the AI analyst.
- General Data Migration to Seayora — Documentation. How to move existing data from spreadsheets or other software into Seayora — properties, tenants, customers, and historical records.
- How to Migrate from QuickBooks to Seayora Accounting — Guide. A step-by-step guide to connecting or importing your QuickBooks Online data into Seayora — what transfers, how to verify it, and how to avoid duplicates.
- Compliance Alerts & Required Filings — Feature. Seayora watches your properties for new violations and works out which recurring filings each building owes, turns both into a dated checklist, and emails you when something new appears. Live violation data for New York City; rule-based filing obligations across the NYC metro.
- Free Data Migration — Feature. Free white-glove data migration for management companies, including QuickBooks data, so switching platforms does not mean re-entering years of records.